Build Beautiful Wood Projects—From Your Home Workshop
Follow clear online plans, tool guides, and tutorials that help beginners and hobbyists create furniture and decor with confidence.

Online Woodworking was created to make building with wood feel approachable—no matter your space, budget, or experience. We turn complex builds into step-by-step plans, video-friendly tutorials, and practical tool advice you can trust. From your first straight cut to your best finish, we focus on simple methods, accurate measurements, and results you’ll be proud to display (or gift).


Read the plan like a checklist
Before cutting anything, review materials, cut list, and hardware. Highlight dimensions, note grain direction, and label every board. This one habit prevents the most common mistakes: flipped parts, wrong lengths, and misaligned assemblies.

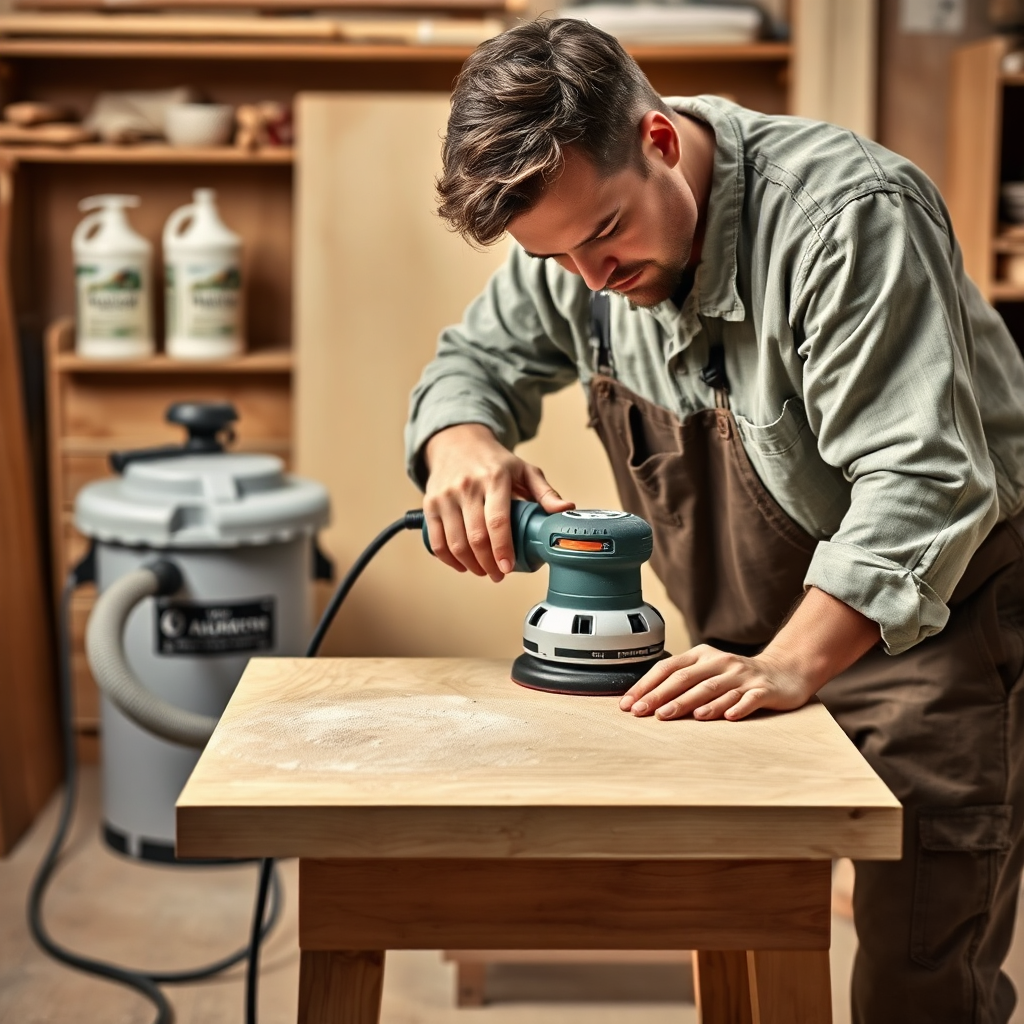
Follow a build sequence
Work in a repeatable order: mill/inspect lumber, cut to size, dry-fit, assemble, then finish. Dry-fitting catches alignment issues early and helps you plan clamp placement, screw access, and glue-up timing.

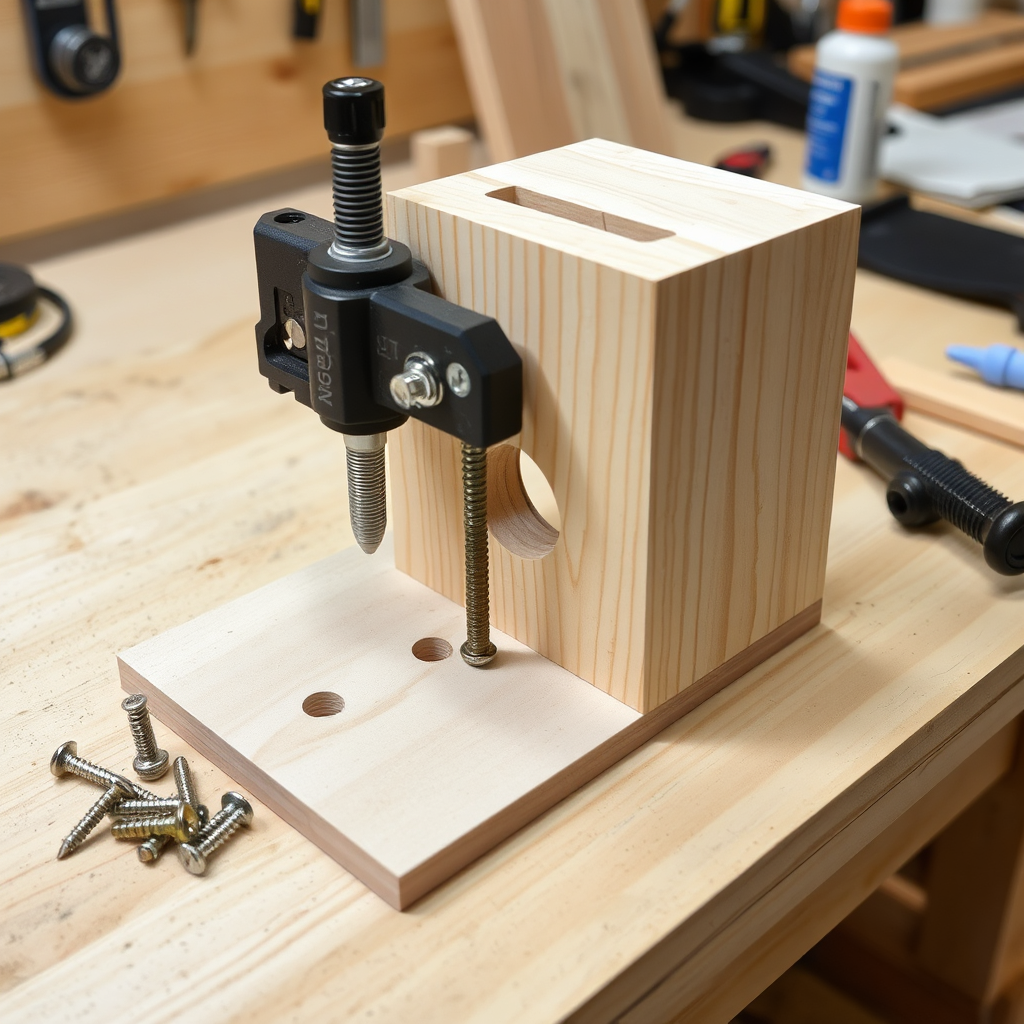
Fix errors without restarting
Small gaps and miscuts happen—plan for recovery. Use shims, re-square with clamps, fill nail holes with color-matched putty, and patch small gaps with glue-and-sawdust. Smart fixes save time and keep projects looking professional.
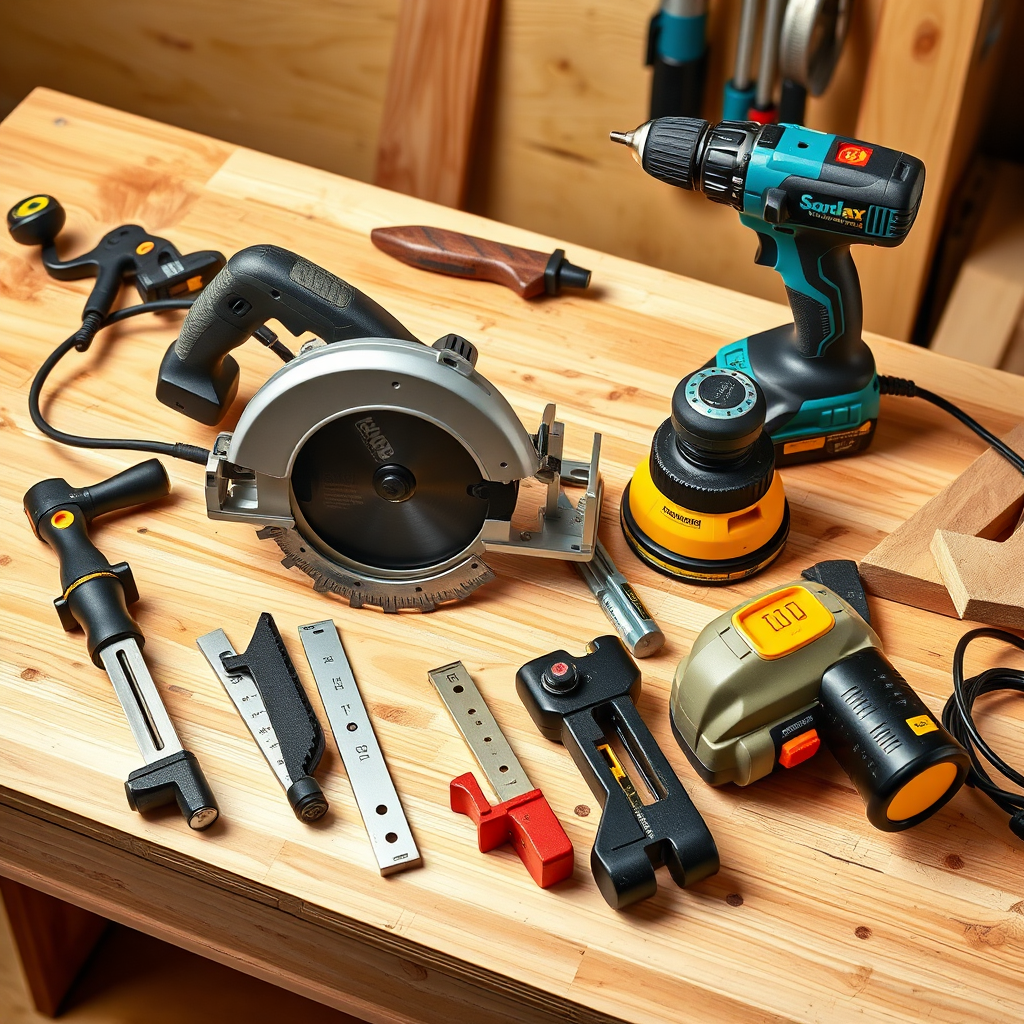
Buy tools in the right order
Start with essentials that cover most builds: a circular saw or miter saw, drill/driver, random-orbit sander, clamps, square, and a solid measuring tape. Add specialty tools only when a project truly requires them.
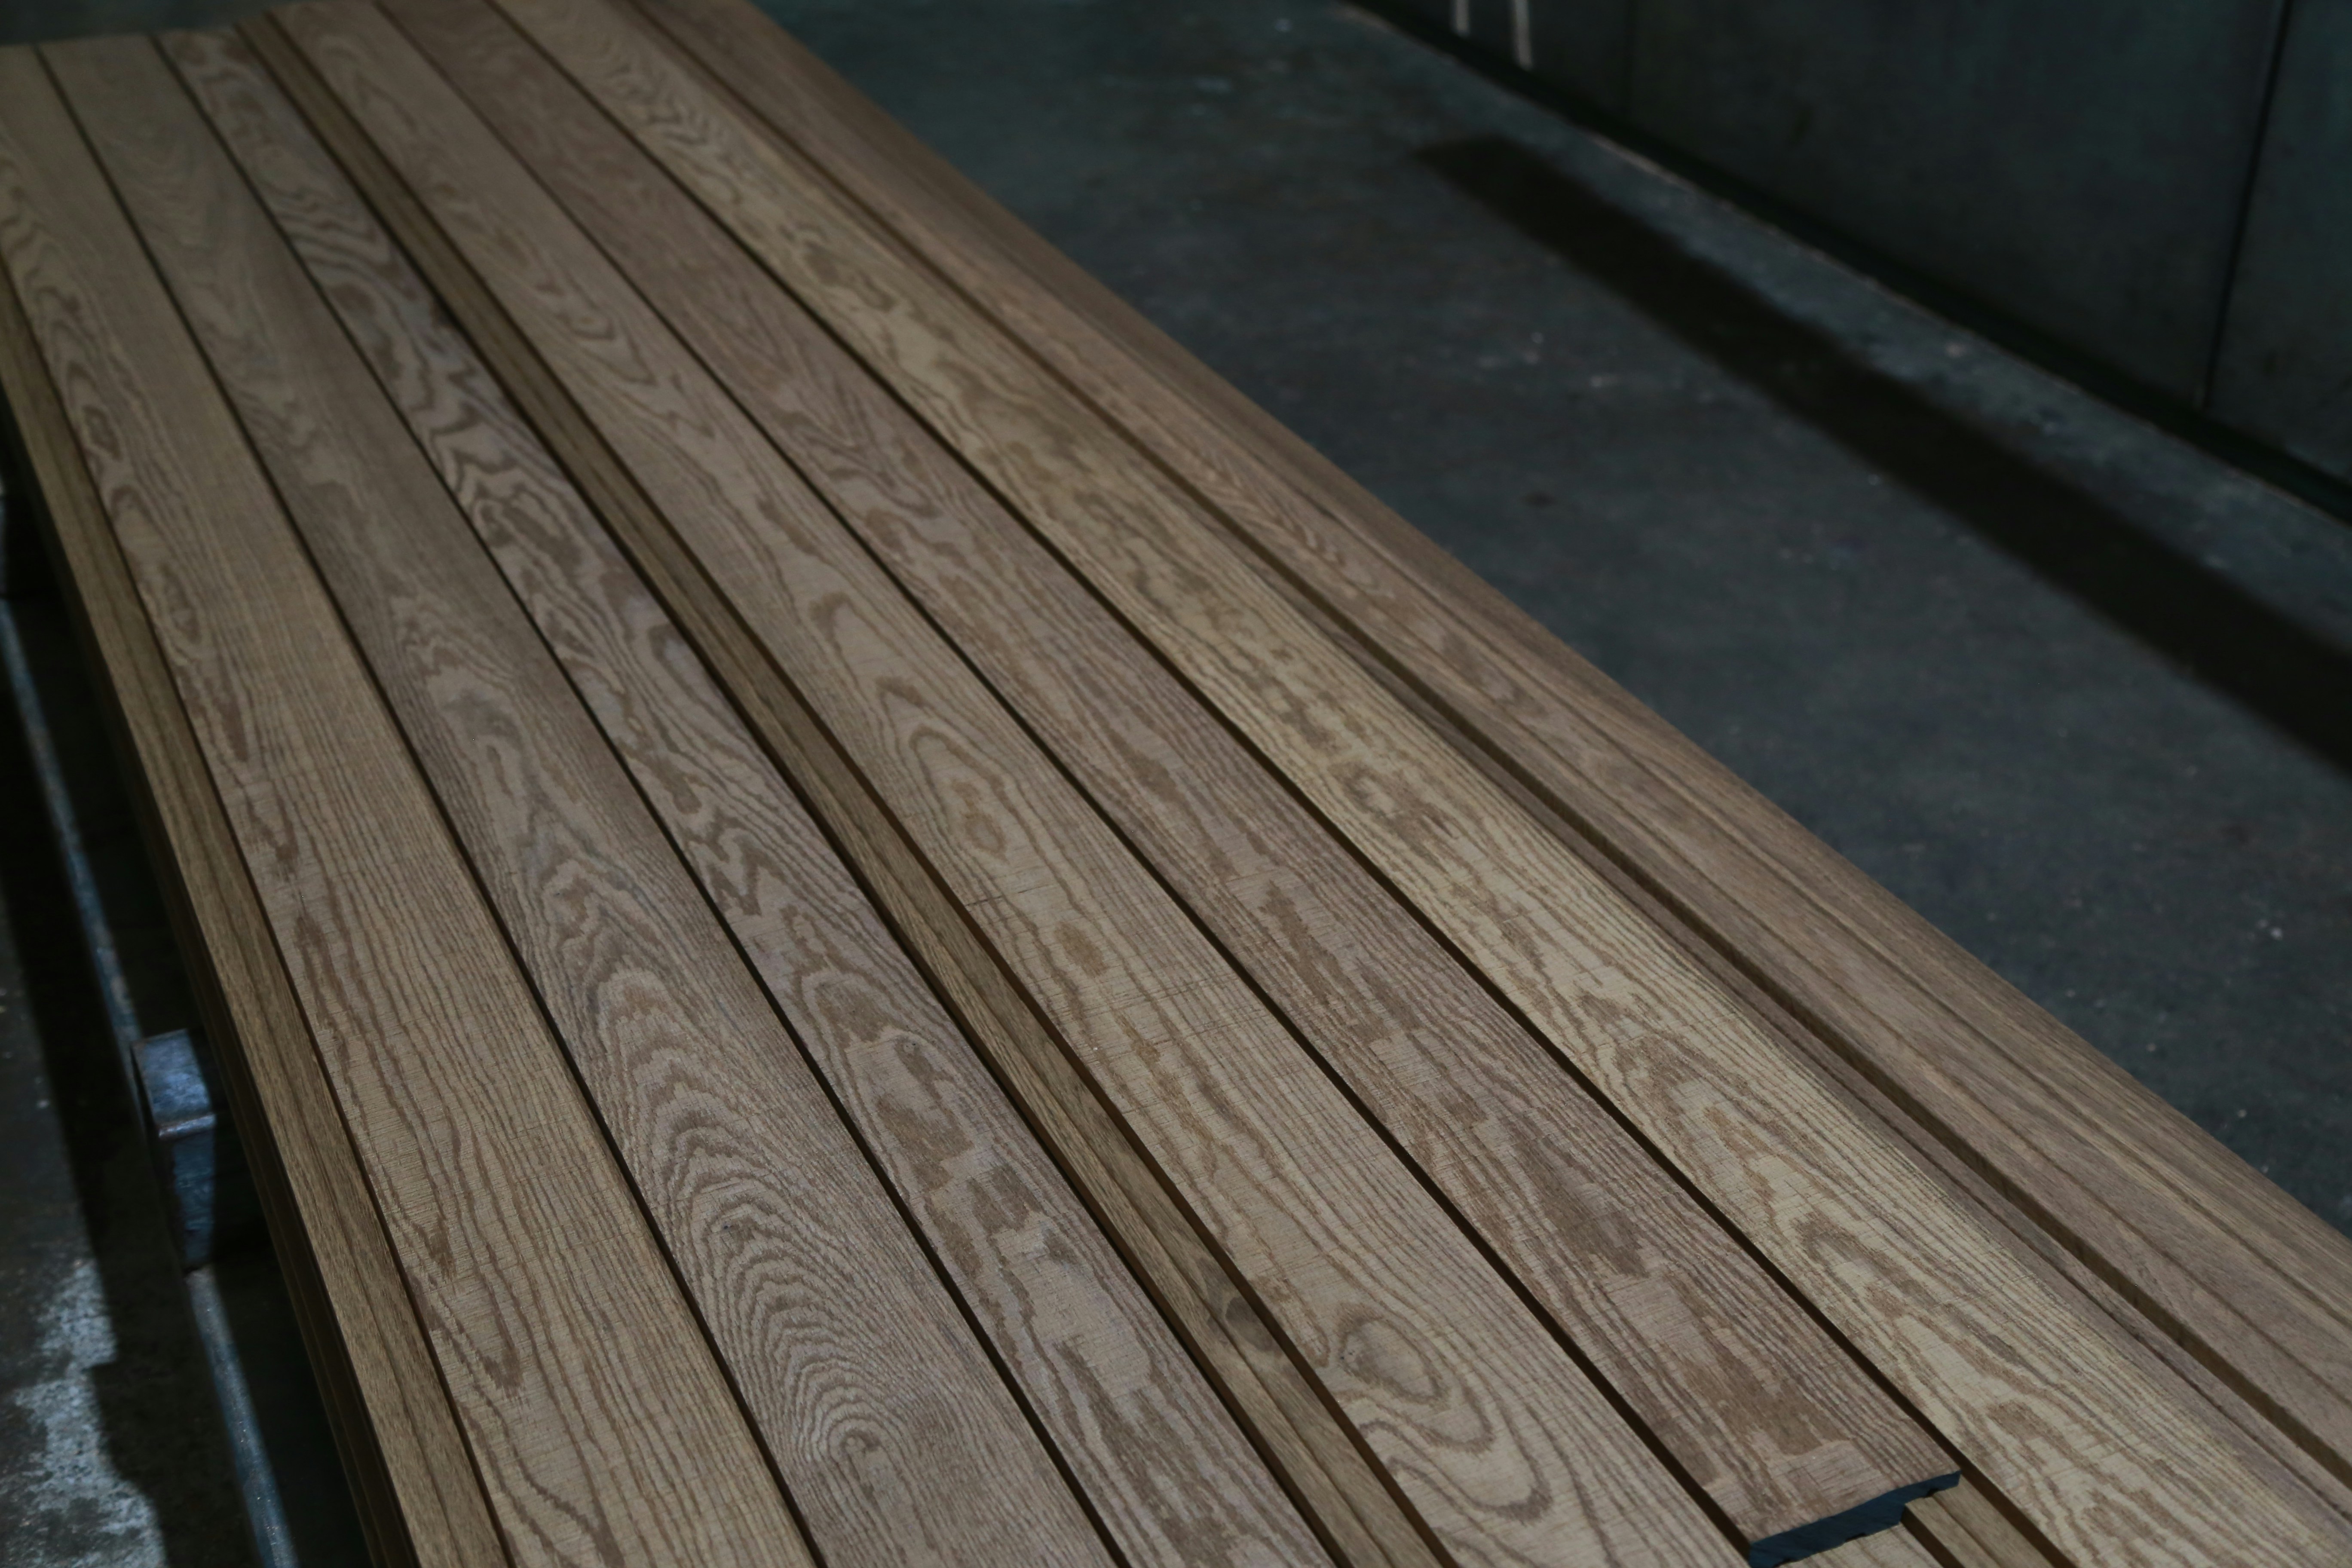
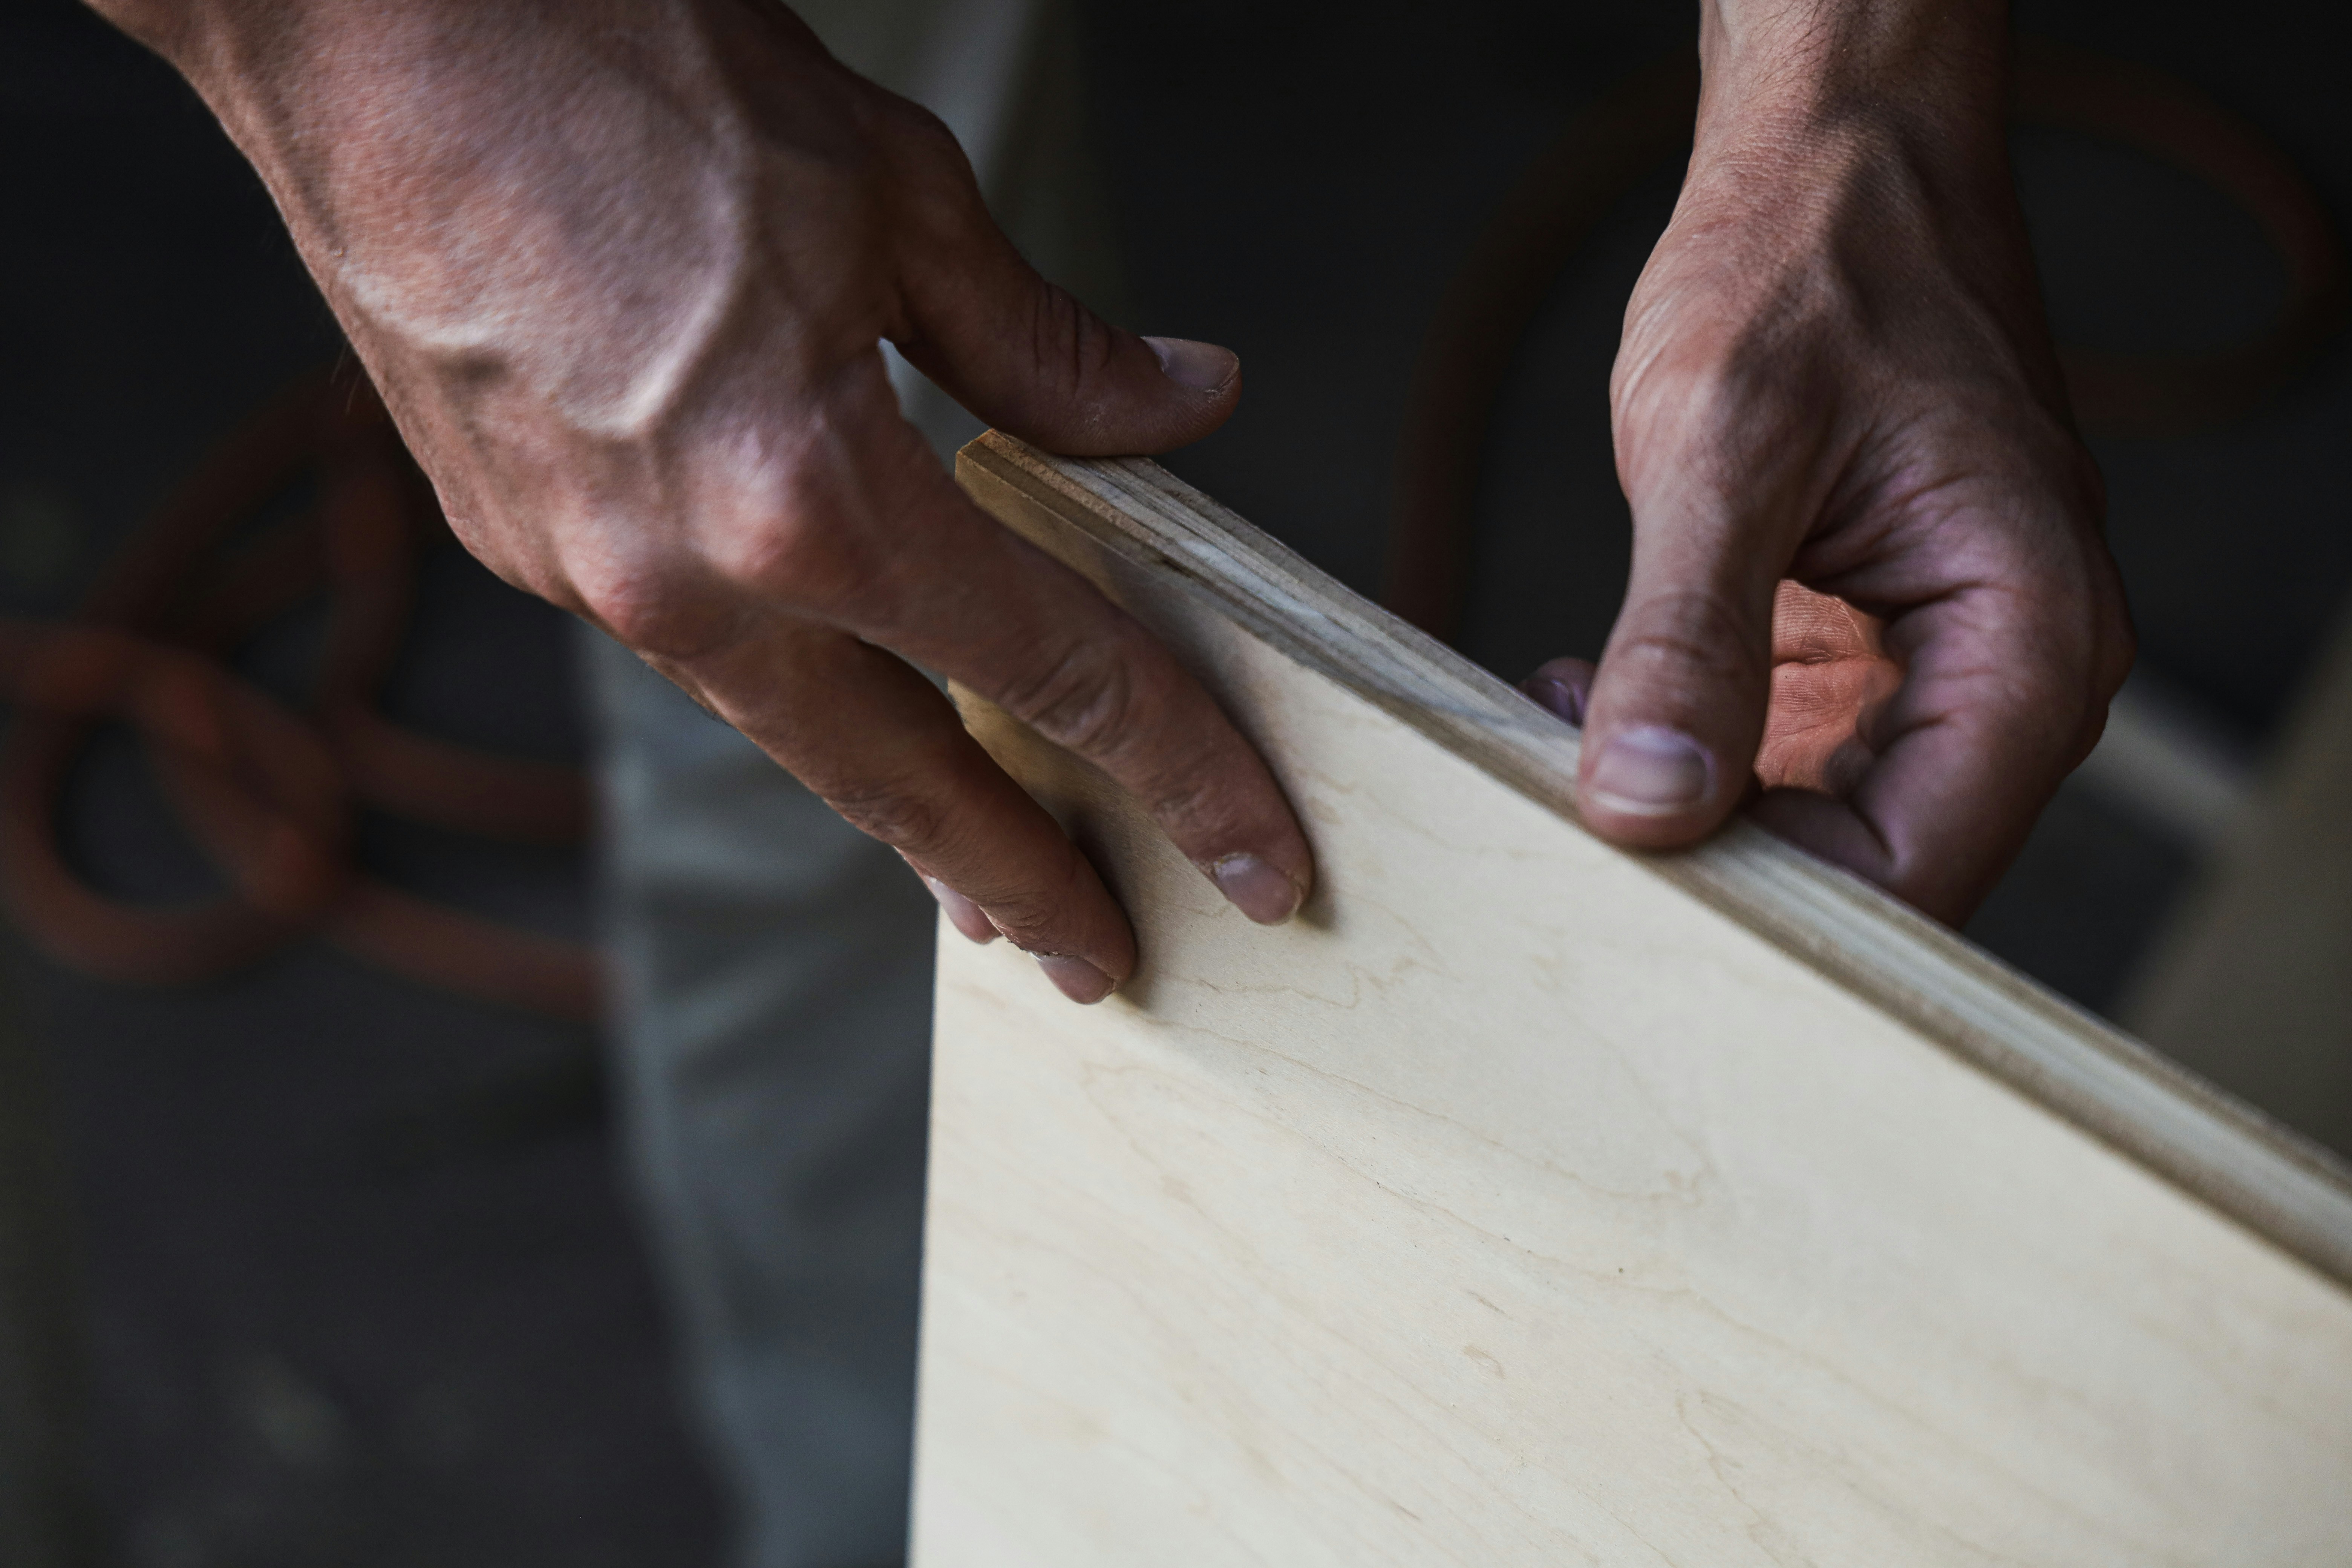
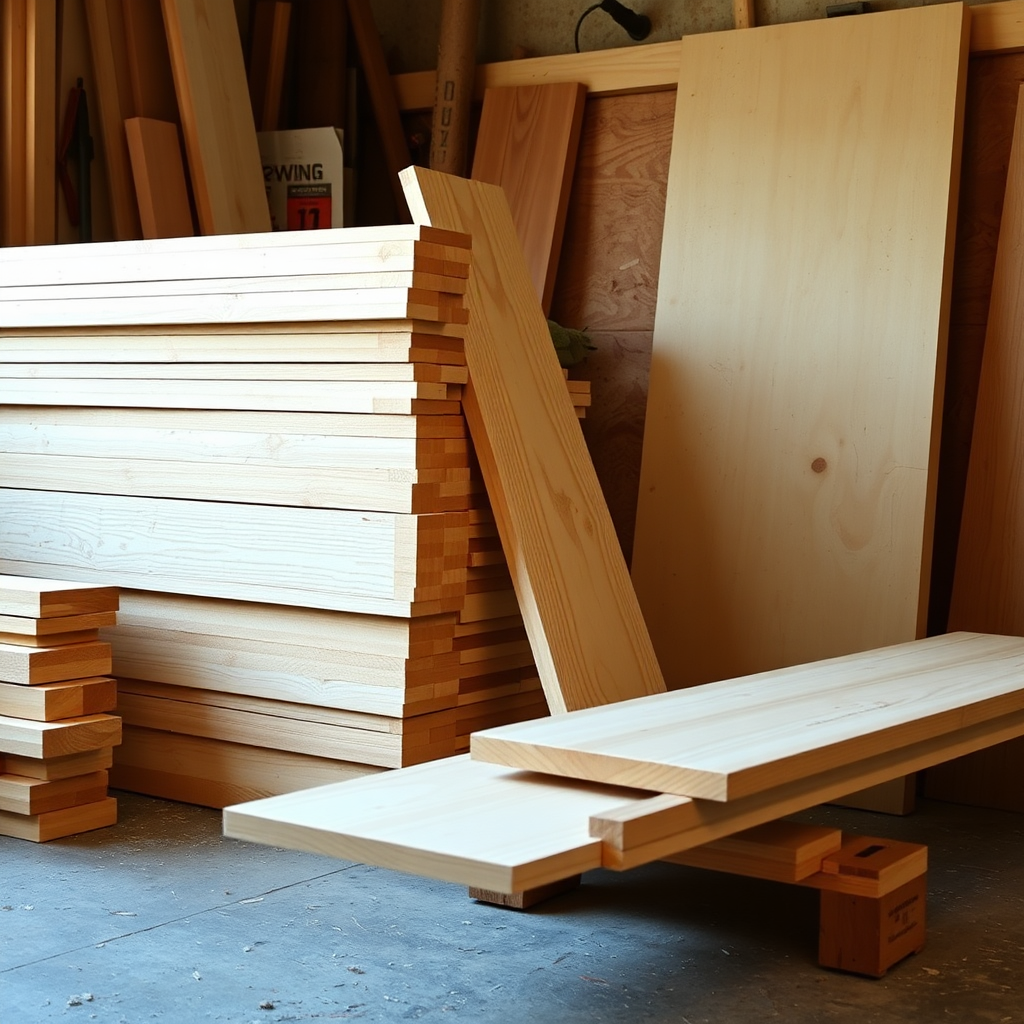
Choose the best beginner lumber
Pine and poplar are affordable, easy to cut, and widely available. Look for straight boards with minimal knots, and let wood acclimate indoors for a day before building. Use plywood for flat panels and stable shelves.
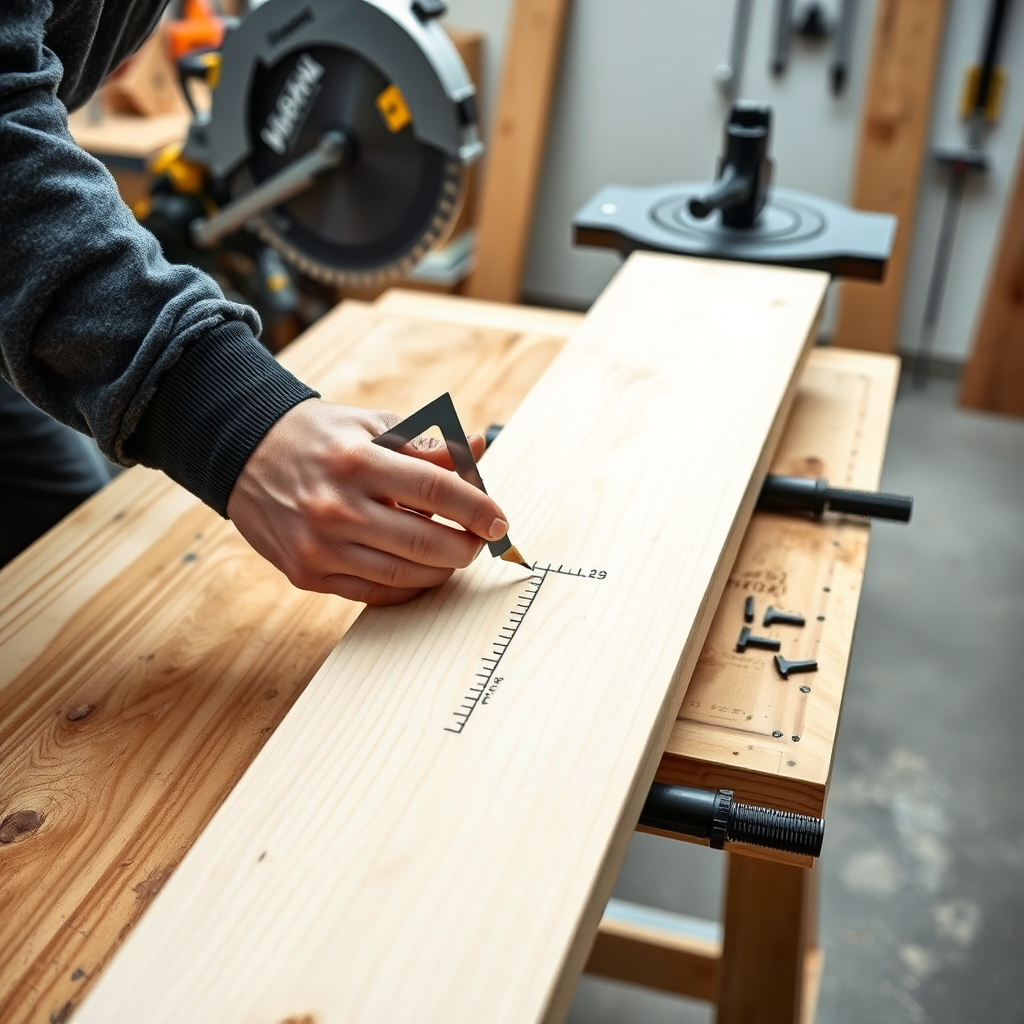
Measure accurately every time
Use the same tape measure throughout a project and mark from the same reference edge. Cut parts in batches using a stop block for consistency. Remember: measure, mark, verify, then cut—especially on duplicate pieces.
Real Builds, Real Results

I’d never built anything beyond a birdhouse. The plans were clear, the cut list saved me at the store, and I finished a wall shelf in a single weekend that actually looks professionally made.

The tutorials helped me stop guessing. Learning the build order and dry-fit steps made my first small table come together square, and the finishing tips eliminated the blotchy stain problem.

I was overwhelmed by tools, but the recommendations were practical. I bought only what I needed and set up a simple workspace in my garage. Now I’m confidently tackling bigger projects.